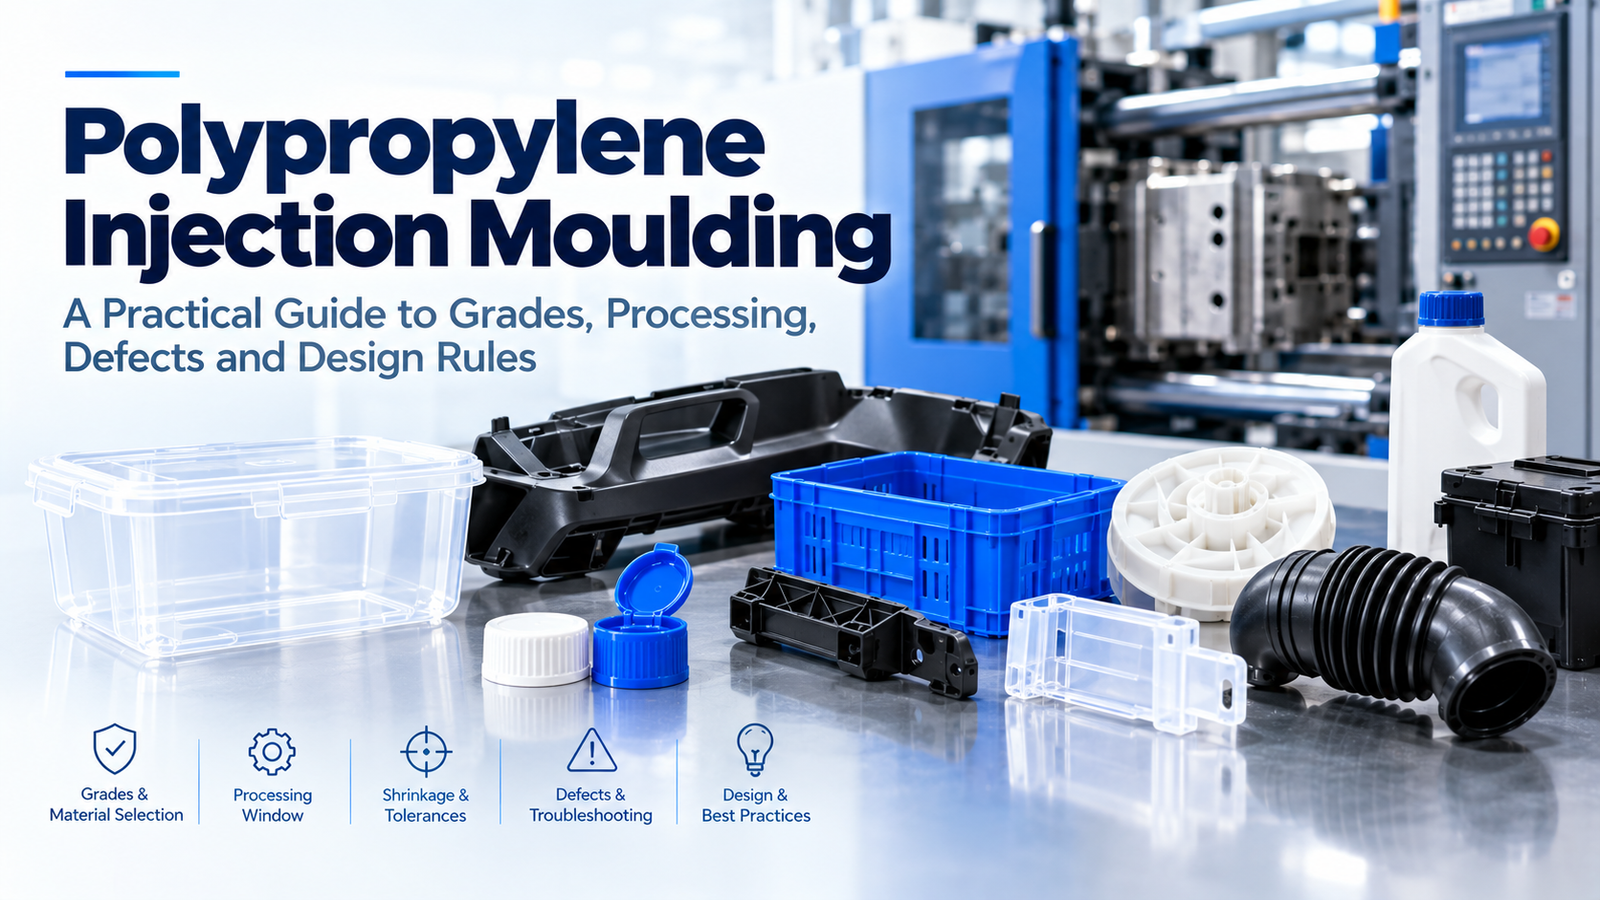
Polypropylene is the highest-volume plastic in the world, and it earned that position honestly. It is light, cheap, chemically resistant, tough in fatigue, and it can be moulded into a living hinge that flexes a million times without breaking. It is also semi-crystalline with a shrinkage rate up to five times that of ABS, sensitive to UV, and difficult to paint or bond without surface treatment. Understanding those two sides of the material is what separates a trouble-free PP project from one that never holds its dimensions.
This guide covers PP injection moulding in practice: grades, shrinkage control, the processing window, tooling rules, defect troubleshooting, surface treatment and the applications where PP remains the best choice.
What Makes PP Different From Other Plastics
| Property | PP behaviour | What it means in practice |
|---|---|---|
| Structure | Semi-crystalline | High and uneven shrinkage; dimensional control needs attention |
| Density | About 0.9 g per cubic centimetre | The lightest of the common plastics; more parts per kilogram |
| Shrinkage | 1.0 to 2.5 percent | Far higher than ABS or PC; must be built into the tool |
| Stiffness | Low compared with engineering plastics | Ribbed design or fillers needed for load-bearing parts |
| Chemical resistance | Excellent against most acids, bases and solvents | Preferred for chemical, medical and packaging applications |
| Fatigue resistance | Excellent | The only common material for a true living hinge |
| UV resistance | Poor without stabilisation | Outdoor parts need UV stabilised grades or a coating |
| Surface energy | Low | Painting, printing and bonding need pre-treatment |
| Heat resistance | Moderate | Homopolymer around 100 °C, copolymer slightly lower, heat stabilised grades higher |
| Food contact | Widely approved in the right grades | Common for food packaging and tableware |
The semi-crystalline structure is the key to almost every PP difficulty: shrinkage, warpage and the difference between flow and cross-flow dimensions all follow from it.
PP Grades and How to Choose
| Grade | Structure | Best for |
|---|---|---|
| Homopolymer | Pure PP, highest stiffness and heat resistance | Structural parts, chemical equipment, load-bearing mouldings |
| Random copolymer | Ethylene added randomly, clearer and softer | Transparent packaging, medical, houseware |
| Block copolymer | Ethylene blocks, much better low-temperature impact | Crates, automotive parts, cold-use containers |
| Terpolymer | Three-monomer, good clarity and impact balance | Thin-wall packaging, high-clarity containers |
| Talc filled | Mineral filler for stiffness and lower shrinkage | Automotive interior parts, appliance housings |
| Glass filled | Fibre reinforcement for strength and creep resistance | Brackets, structural automotive parts |
| TPO / TPE | PP blended with rubber | Bumpers, soft-touch overmoulded grips |
| Flame retardant | Additives for UL 94 ratings | Electrical and appliance parts |
Choosing between homopolymer and copolymer is the first decision and the one with the largest effect. Homopolymer gives stiffness and heat resistance; copolymer gives impact strength at low temperature. Our guide to selecting homopolymer and random copolymer PP works through that trade-off in detail.
Mechanical property data — elastic modulus, allowable strain, creep behaviour — should come from the supplier's data sheet for the exact grade, since the spread between filled and unfilled PP is larger than between most material families.
Shrinkage: The Defining Challenge in PP Moulding
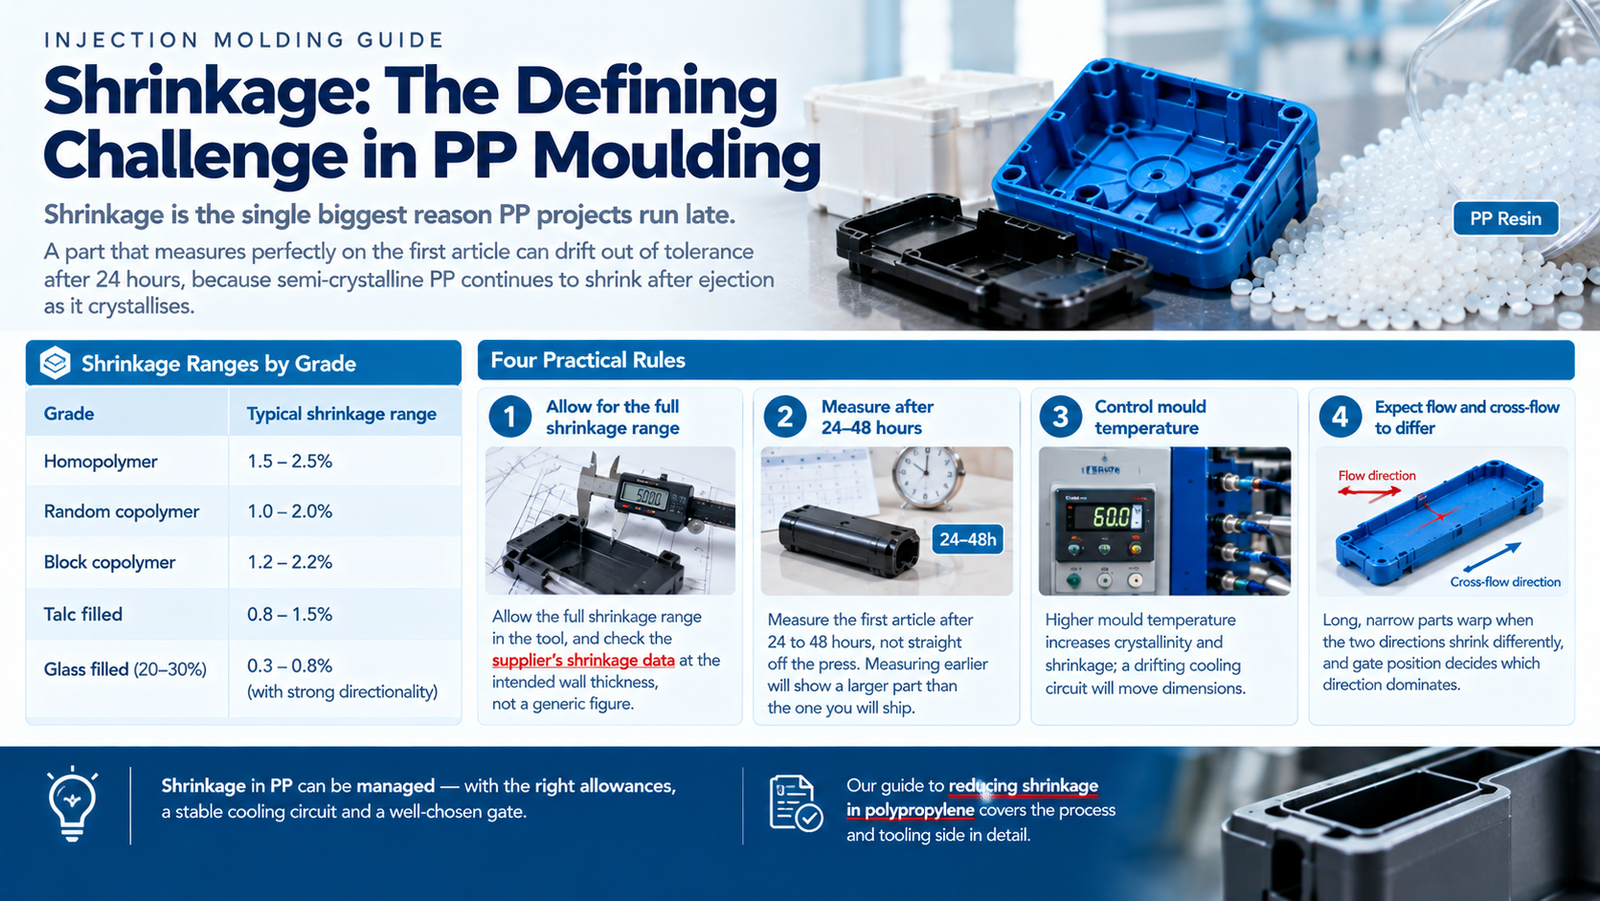
Shrinkage is the single biggest reason PP projects run late. A part that measures perfectly on the first article can drift out of tolerance after 24 hours, because semi-crystalline PP continues to shrink after ejection as it crystallises.
| Grade | Typical shrinkage range |
|---|---|
| Homopolymer | 1.5 to 2.5 percent |
| Random copolymer | 1.0 to 2.0 percent |
| Block copolymer | 1.2 to 2.2 percent |
| Talc filled | 0.8 to 1.5 percent |
| Glass filled 20 to 30 percent | 0.3 to 0.8 percent, with strong directionality |
Four practical rules follow from this:
- Allow the full shrinkage range in the tool, and check the supplier's shrinkage data at the intended wall thickness, not a generic figure.
- Measure the first article after 24 to 48 hours, not straight off the press. Measuring earlier will show a larger part than the one you will ship.
- Control mould temperature carefully. Higher mould temperature increases crystallinity and shrinkage; a drifting cooling circuit will move dimensions.
- Expect flow and cross-flow shrinkage to differ. Long, narrow parts warp when the two directions shrink differently, and gate position decides which direction dominates.
Shrinkage in PP can be managed — with the right allowances, a stable cooling circuit and a well-chosen gate — and our guide to reducing shrinkage in polypropylene covers the process and tooling side in detail.
Processing Window for Polypropylene
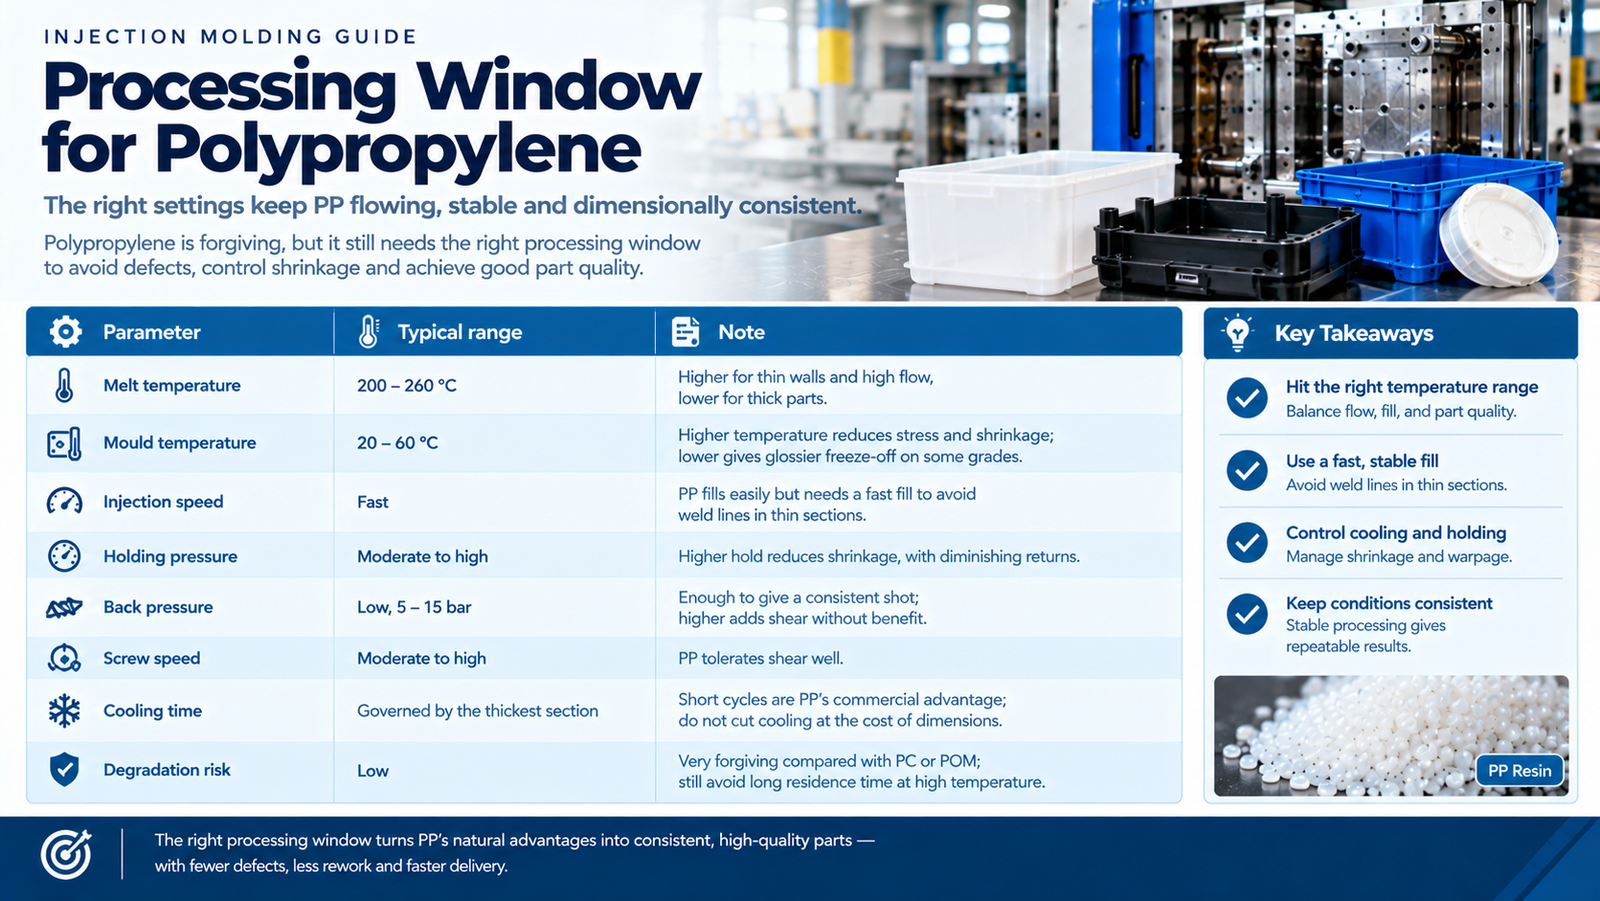
| Parameter | Typical range | Note |
|---|---|---|
| Melt temperature | 200 to 260 °C | Higher for thin walls and high flow, lower for thick parts |
| Mould temperature | 20 to 60 °C | Higher temperature reduces stress and shrinkage; lower gives glossier freeze-off on some grades |
| Injection speed | Fast | PP fills easily but needs a fast fill to avoid weld lines in thin sections |
| Holding pressure | Moderate to high | Higher hold reduces shrinkage, with diminishing returns |
| Back pressure | Low, 5 to 15 bar | Enough to give a consistent shot; higher adds shear without benefit |
| Screw speed | Moderate to high | PP tolerates shear well |
| Cooling time | Governed by the thickest section | Short cycles are PP's commercial advantage; do not cut cooling at the cost of dimensions |
| Degradation risk | Low | Very forgiving compared with PC or POM; still avoid long residence time at high temperature |
PP is one of the easiest materials to run, which is why cycle time is usually the last thing you worry about. The difficulty is not in the press, it is in getting the dimensions right in the first place.
Tooling Rules for PP Parts
| Feature | Recommendation |
|---|---|
| Shrinkage allowance | Apply the full material range and confirm after 24 to 48 hours |
| Draft | 0.5 to 1 degree minimum; PP releases well but needs draft on textured faces |
| Nominal wall | 1.5 to 3 mm typical, uniform; avoid thick sections |
| Ribs | 50 to 60 percent of nominal wall to control sink |
| Radii | Generous radii reduce stress and improve flow |
| Gates | Position to line up flow and cross-flow shrinkage where it matters; avoid gating into a thin wall |
| Venting | 0.02 mm at the last point to fill — PP flashes easily, so vents must be shallow |
| Living hinge | The hinge must be gated so the melt flows across the hinge line, with a thin, sharply defined section |
| Cooling | Balanced circuits; uneven cooling is the main cause of PP warpage |
Flash is a specific PP risk: its low melt viscosity means that any tool gap — a worn shut-off, an over-sized vent or a poorly fitted insert — will produce flash rather than a slight cosmetic witness line. Tool condition matters more with PP than with most materials, as our guide to reducing flash in PP mouldings explains.
Common PP Defects and How to Fix Them
| Defect | Likely cause | Fix |
|---|---|---|
| Warpage | Uneven shrinkage, unbalanced cooling, unfavourable gate location | Balance cooling, review gate position, check packing profile |
| Flash | Too much injection pressure, worn tool faces, over-deep vents | Reduce hold pressure, service the shut-offs, check vent depth |
| Sink marks | Thick sections, ribs too heavy, short hold | Reduce wall or rib thickness, extend hold |
| Weld lines | Slow fill, low mould temperature, poor venting | Increase injection speed, raise mould temperature, add venting |
| Silver streaks | Moisture or decomposition | Dry the resin where the grade requires it, check melt temperature and residence time |
| Flow marks and dull patches | Cold mould, slow fill | Raise mould temperature, increase speed, review the gate size |
| Poor paint or print adhesion | Low surface energy | Flame or plasma pre-treatment, correct primer |
| Cracking in sunlight | No UV stabilisation | Specify a UV stabilised grade or apply a protective coating |
| Short shots in thin walls | Insufficient speed or pressure, small gate | Increase injection speed, enlarge the gate, raise melt temperature |
Surface Treatment for PP Parts
PP has low surface energy, so paint, ink and adhesive do not naturally bond to it. Where a decorated or bonded PP part is needed, plan the treatment into the process:
| Method | Use case |
|---|---|
| Flame treatment | Fast, in-line, effective for larger flat surfaces before printing or bonding |
| Plasma treatment | Precise, good for small parts and complex geometry |
| Primer | Applied before painting where treatment alone is not enough |
| In-mould decoration | Decoration applied during moulding, avoiding post-treatment |
| Welding methods | Ultrasonic and hot plate welding both work well; joint design decides strength |
Specifying a decorated PP part without deciding on the treatment method early is one of the most common project delays in PP moulding.
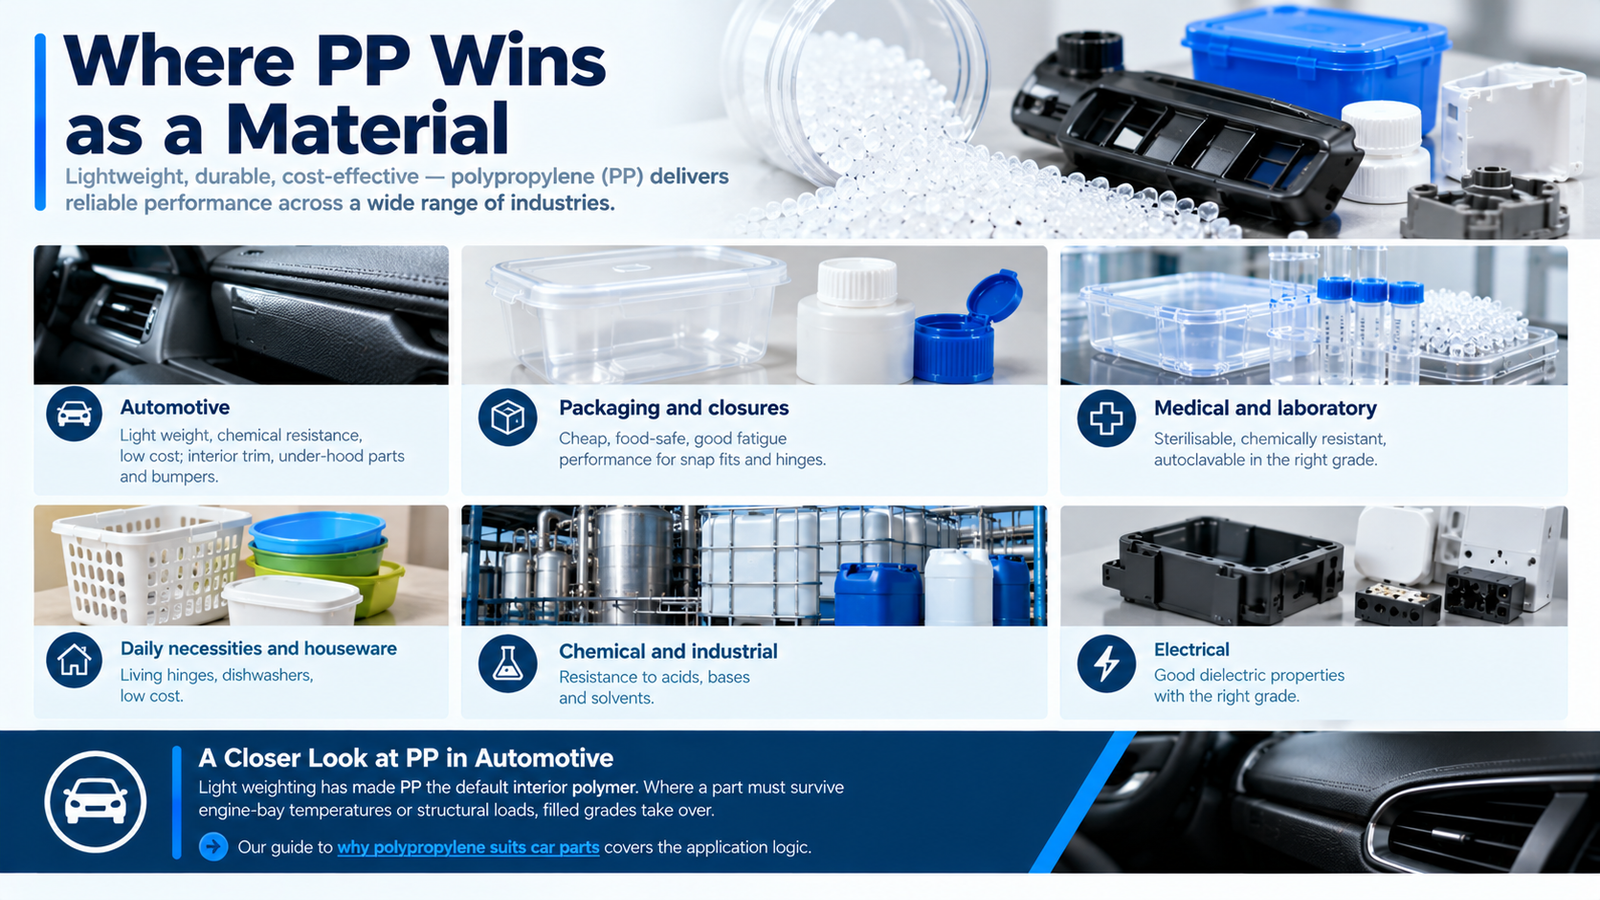
Where PP Wins as a Material
| Application area | Why PP |
|---|---|
| Automotive | Light weight, chemical resistance, low cost; interior trim, under-hood parts and bumpers |
| Packaging and closures | Cheap, food-safe, good fatigue performance for snap fits and hinges |
| Medical and laboratory | Sterilisable, chemically resistant, autoclavable in the right grade |
| Daily necessities and houseware | Living hinges, dishwashers, low cost |
| Chemical and industrial | Resistance to acids, bases and solvents |
| Electrical | Good dielectric properties with the right grade |
Polypropylene's automotive role deserves a note of its own, because light weighting has made PP the default interior polymer. Where a part must survive engine-bay temperatures or structural loads, filled grades take over; our guide to why polypropylene suits car parts covers the application logic.
PP Compared With Other Common Plastics
| Material | Shrinkage | Stiffness | Chemical resistance | Living hinge | Cost |
|---|---|---|---|---|---|
| PP | High, 1.0 to 2.5 percent | Low to moderate | Excellent | Yes | Lowest |
| PE | High, 1.5 to 3.0 percent | Low | Excellent | Limited | Very low |
| ABS | Low, 0.4 to 0.7 percent | Moderate | Poor against solvents | No | Low |
| PC | Low, 0.5 to 0.7 percent | Moderate | Poor against solvents | No | Moderate to high |
| Nylon | Moderate to high | Moderate to high | Moderate | No | Moderate |
The comparison that matters most for many projects is PP against ABS, since both are cheap and widely available but behave very differently in service. Our comparison of ABS and polypropylene examines that choice directly.
Quality Control for PP Parts
| Check | Method | Frequency |
|---|---|---|
| Critical dimensions, after stabilisation | CMM or optical measurement, 24 to 48 hours after moulding | First article and after tooling changes |
| Wall thickness and rib sections | Sectioning or ultrasonic measurement | Tool qualification |
| Appearance | Inspection under defined lighting against a limit sample | Every batch |
| Fit and function | Assembly trials with mating parts | Per quality plan |
| Impact performance | Drop or instrumented impact testing | Per quality plan |
| Hinge fatigue | Cyclic flex testing of samples from the production tool | Tool qualification |
| Colour and surface | Comparison against a master sample | Every batch |
For living hinges and snap fits, dimensional inspection alone is not enough — fatigue and flex testing on samples from the production tool is what confirms the design.
Conclusion
Polypropylene is cheap, light and chemically tough, and it remains the right choice for a very large share of moulded parts. The projects that go wrong almost always fail on the same point: shrinkage. Semi-crystalline PP keeps moving after ejection, so the tool must allow the full shrinkage range, dimensions must be measured after stabilisation, and cooling must be even. Get that right, and PP rewards you with short cycles, low material cost and a fatigue performance no other common plastic matches.
With injection moulding capability from 80 to 1,400 tonnes and in-house tooling, we run polypropylene in homopolymer, copolymer, terpolymer, talc filled, glass filled and flame retardant grades. Through our custom injection moulding services we support PP projects from material selection and shrinkage allowance through tool qualification to volume production. Send us your part drawing and service conditions to discuss grades, shrinkage and the tooling approach for your application.
FAQ
What is PP injection moulding?
PP injection moulding is the production of parts from polypropylene, a semi-crystalline commodity thermoplastic. It is the highest-volume moulding material in the world and is used for automotive parts, packaging, closures, houseware, medical items and chemical equipment.
What is the shrinkage rate of polypropylene?
PP shrinks between 1.0 and 2.5 percent depending on the grade: homopolymer at the high end, random copolymer and talc filled grades lower, and glass filled grades down to 0.3 to 0.8 percent. Shrinkage continues after ejection, so dimensions should be measured 24 to 48 hours after moulding.
What is the best mould temperature for polypropylene?
Typically between 20 and 60 °C. A higher mould temperature increases crystallinity, reduces moulded-in stress and produces more consistent shrinkage, while a lower temperature gives a faster cycle. The right value depends on the wall thickness and the appearance requirement.
Why do polypropylene parts warp?
Warping comes from uneven shrinkage: different cooling rates on the two faces, an unbalanced cooling circuit, a gate position that leaves long flow paths, or heavy thickness variations. Since PP shrinks far more than ABS, small imbalances produce visible distortion, so cooling balance and gate location matter more than with other materials.
Can polypropylene be painted or bonded?
Yes, but not without surface treatment. PP has low surface energy, so paints, inks and adhesives do not bond reliably to an untreated surface. Flame treatment, plasma treatment or a suitable primer is required, and the treatment method should be decided at the design stage rather than after tooling.
Is polypropylene suitable for living hinges?
Yes. PP is the standard material for living hinges because of its outstanding fatigue resistance. The hinge needs a thin, sharply defined section, and the gate must be positioned so the melt flows across the hinge line rather than along it.